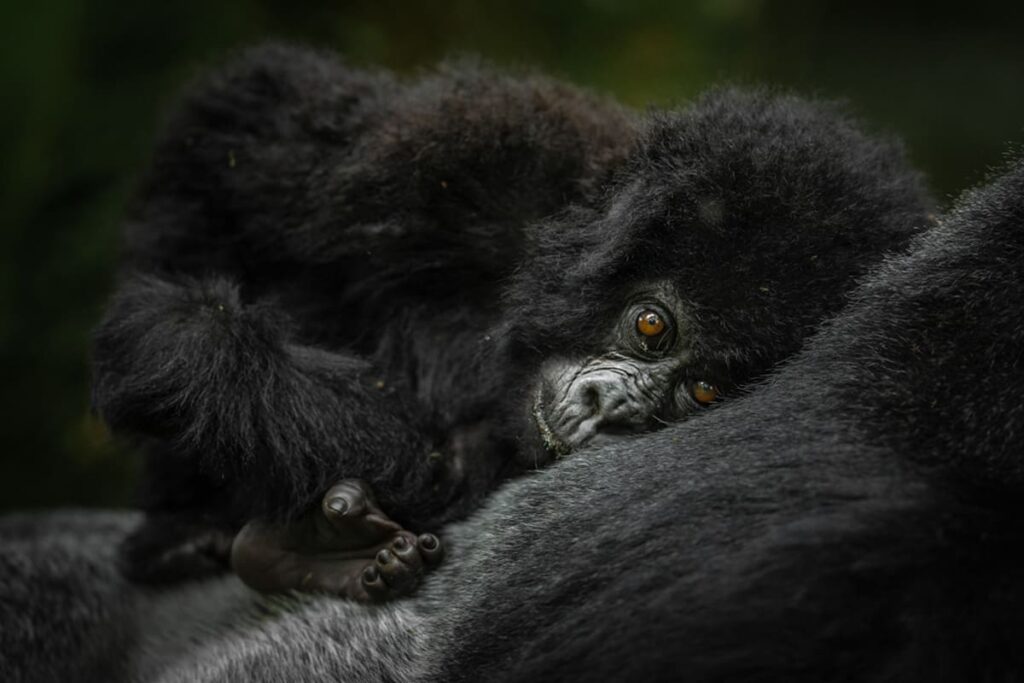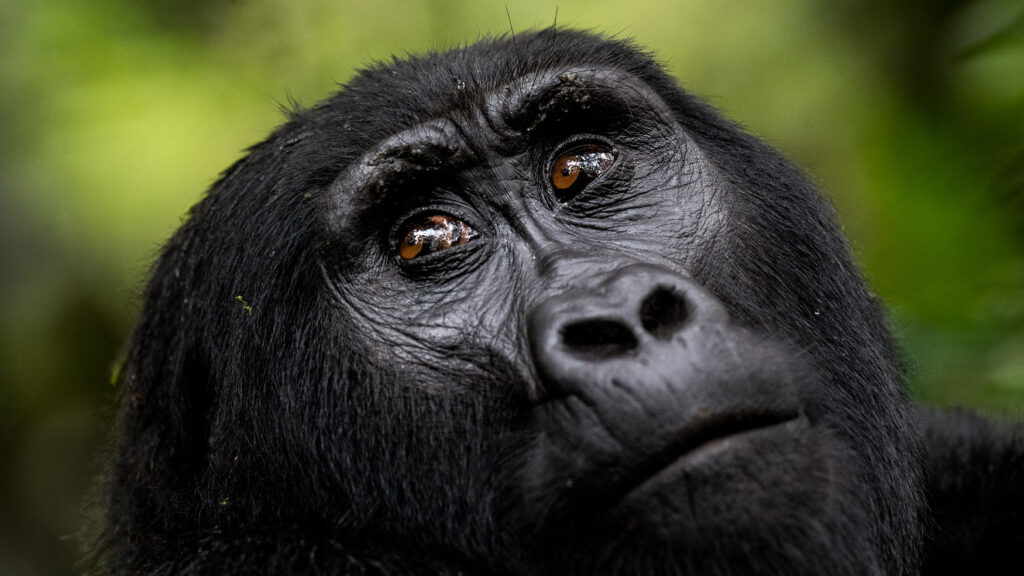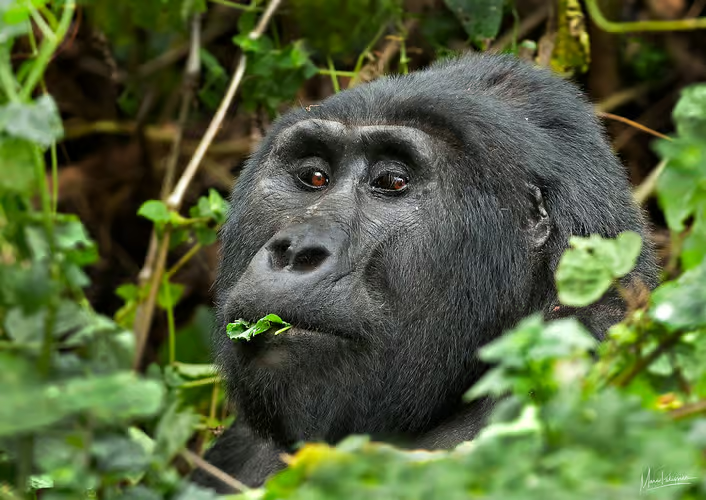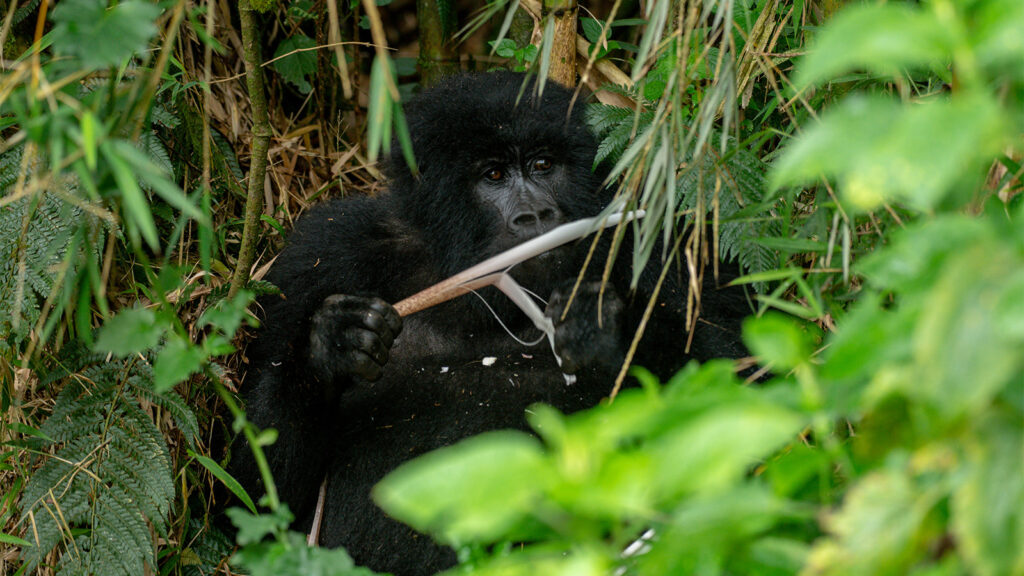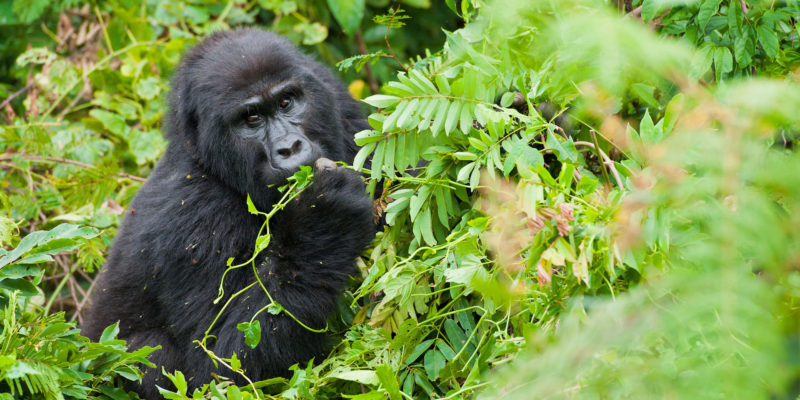
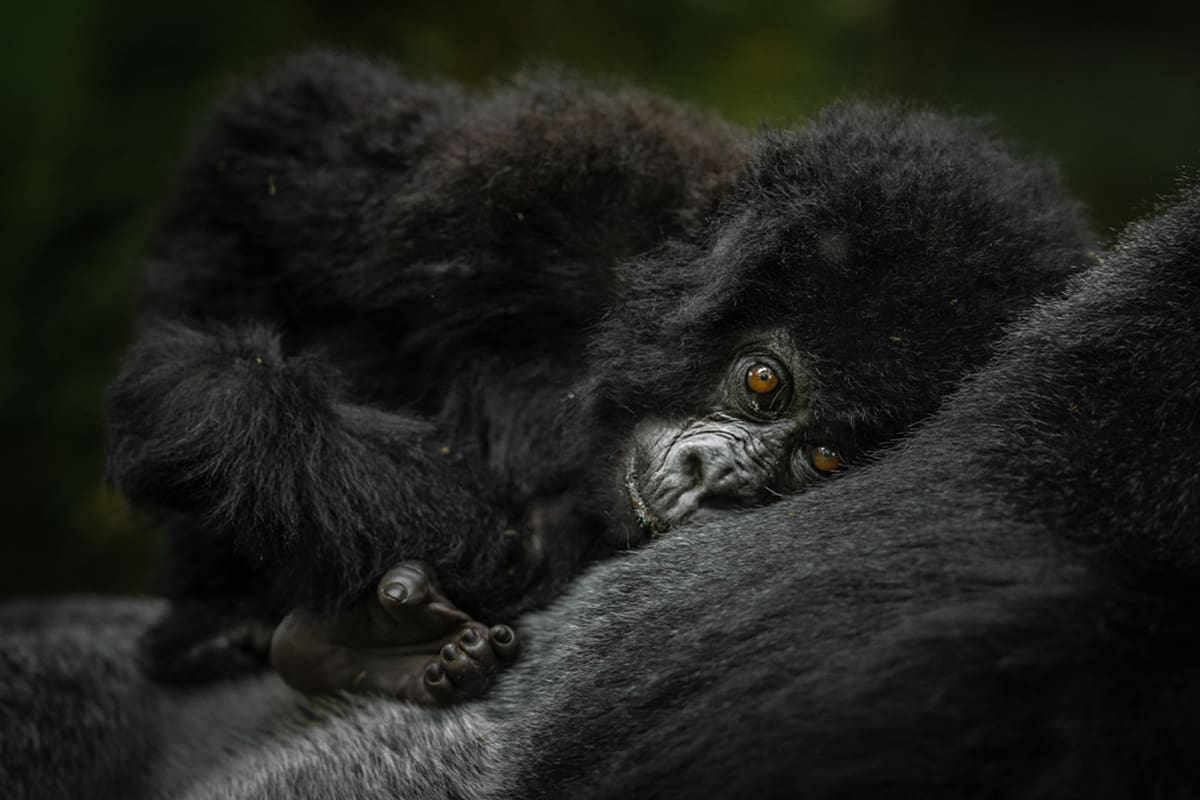
Capture the magic of Uganda’s mountain gorillas with confidence. This 2026 gorilla photography settings guide covers ISO, shutter speed, aperture, no-flash rules, weather-sealing, and pro composition tips for the rainforest.
Introduction: Photography in the Impenetrable Forest
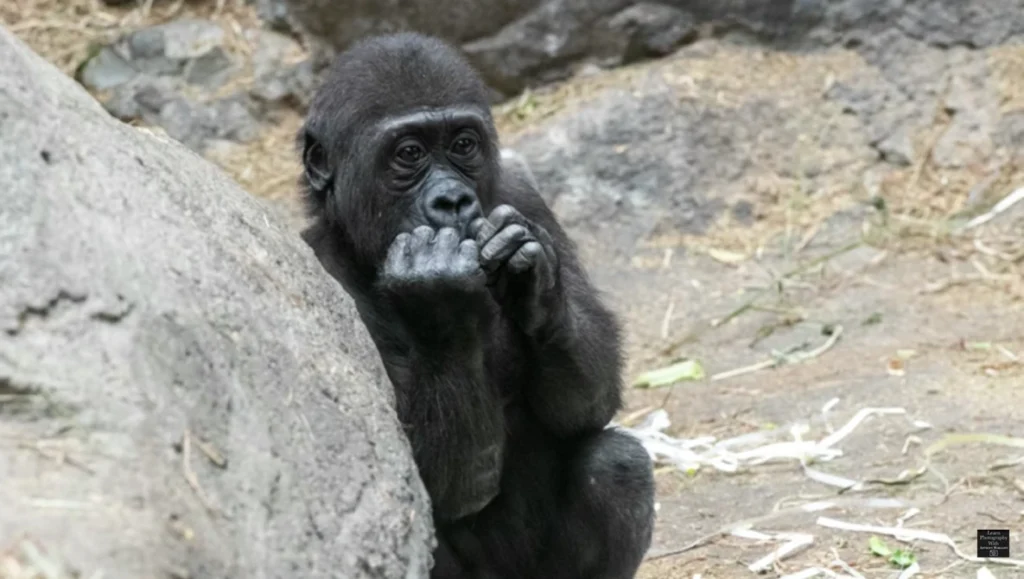
Photographing mountain gorillas in Bwindi Impenetrable National Park is one of the most rewarding yet technically challenging experiences for any wildlife photographer. The dense rainforest canopy, rapidly changing light, and the sheer proximity to these magnificent creatures demand a solid understanding of gorilla photography settings.
At Afraeka Adventures, we’ve guided thousands of photographers—from first-time DSLR users to National Geographic aspirants—through the misty jungles of Bwindi and Mgahinga. We know exactly which gorilla photography settings work best in the low-light, high-humidity conditions of Uganda’s rainforests.
This comprehensive 2026 guide covers best camera gear for gorilla trekking, the optimal ISO, shutter speed, and aperture settings, how to shoot in the rain, composition techniques for gorilla portraits vs. environmental shots, and editing tips to bring out the rich greens and silvers of the forest.
If you’re planning a 3-Day Gorilla Trekking in Bwindi or a longer 18-Day Uganda Safari , mastering these gorilla photography settings will ensure you return with images that truly do justice to this once-in-a-lifetime encounter.
Let’s dive into the technical details—because getting the shot requires more than just pointing your camera.
Best Camera Gear for Low-Light Rainforest Conditions
Before adjusting your gorilla photography settings, you need the right equipment. Bwindi’s forest is dim, with sunlight filtering through dense canopy layers. Here’s what works best.
Camera Body Recommendations for Gorilla Photography
| Camera Type | Best For | Key Feature for Bwindi |
|---|---|---|
| Full-Frame Mirrorless (Sony A7IV, Canon R6 II, Nikon Z8) | Professional photographers, low-light performance | Excellent high-ISO noise control (critical for gorilla photography settings) |
| Full-Frame DSLR (Canon 5D IV, Nikon D850) | Traditionalists, battery life | Great dynamic range; robust build |
| APS-C / Crop Sensor (Sony A6700, Canon R7) | Budget-conscious, lightweight | Lighter gear for the trek; good reach with crop factor |
| Compact / Bridge Camera (Sony RX10 IV) | Travelers who want quality without bulk | Built-in zoom; weather-sealed; good starter option |
Lens Recommendations for Gorilla Photography Settings
| Lens Type | Focal Length | Best For | Why It Works |
|---|---|---|---|
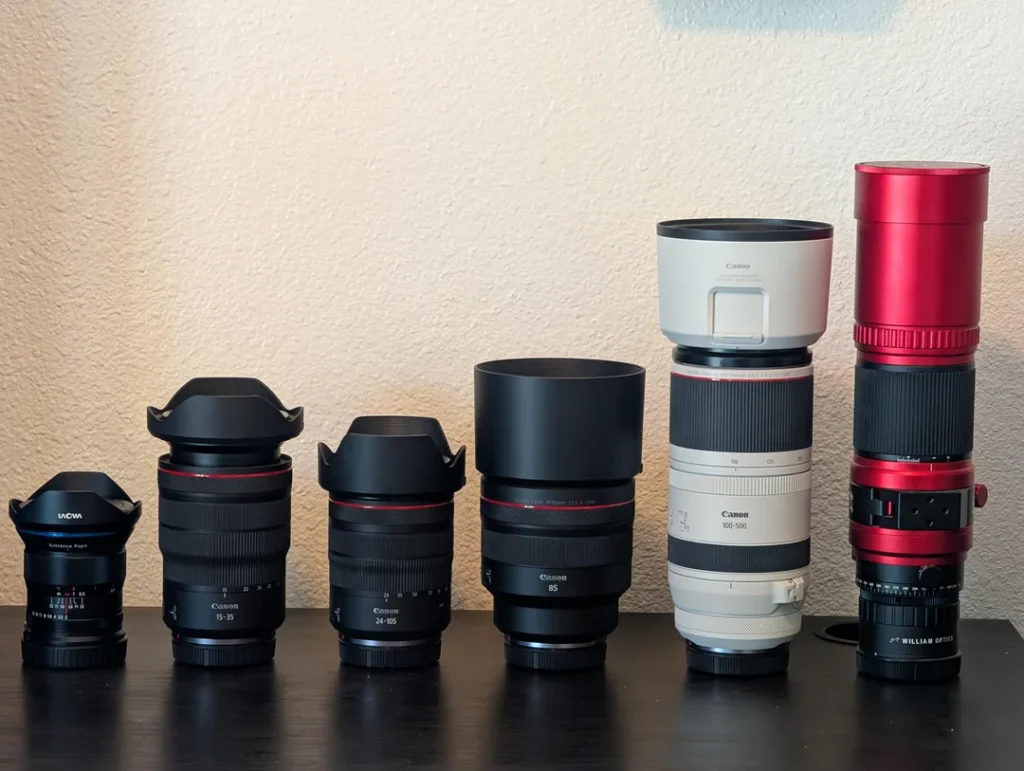
| Wide-Zoom | 24-70mm f/2.8 | Environmental shots, close encounters | Gorillas can be mere meters away; wide angle captures their habitat |
| Tele-Zoom | 70-200mm f/2.8 | Portraits, tighter compositions | Excellent for isolating a silverback from the dense background |
| Super-Tele | 100-400mm f/4.5-5.6 | Distant groups, detail shots | Great for capturing eyes and expressions without disturbing the gorillas |
| Prime Lens | 85mm f/1.8 or 50mm f/1.4 | Extremely low-light conditions | f/1.8 allows you to push your gorilla photography settings to lower ISOs |
Afraeka Adventures Pro Tip: For most photographers, the 70-200mm f/2.8 zoom is the ideal workhorse lens for gorilla photography settings. It offers the perfect balance of reach and light-gathering ability, essential in Bwindi’s dim forest.
Essential Accessories for Gorilla Photography Settings
| Accessory | Why You Need It |
|---|---|
| Lens Hood | Reduces lens flare from dappled sunlight; provides physical protection |
| Circular Polarizer Filter | Reduces reflections on wet leaves and gorilla fur |
| Rain Cover / Weather-Sealing | Bwindi’s rainforest can rain at any time—protect your gear |
| Extra Batteries | Cold, humid conditions drain batteries faster |
| Peak Design Capture Clip | Attach your camera to your backpack strap for quick access |
| Memory Cards (64GB+) | You’ll take hundreds of shots; high-speed cards allow rapid burst mode |
Camera Settings Guide – ISO, Shutter Speed & Aperture (No Flash)
Understanding the exposure triangle is everything for gorilla photography settings in Bwindi. Here are the specific numbers to use.
The “Sweet Spot” Settings for Gorilla Photography
| Setting | Recommended Value | Why |
|---|---|---|
| ISO | 1600 – 6400 (Auto ISO with cap at 6400) | Balances brightness with acceptable noise; modern cameras handle 6400 well |
| Shutter Speed | 1/200 – 1/500 (minimum 1/125 for stationary) | Gorillas move fast; you need to freeze the action to avoid blur |
| Aperture (f-stop) | f/4 – f/5.6 (priority) or f/8 for groups | Creates beautiful background blur (bokeh) while keeping the gorilla sharp |
Manual Mode vs. Aperture Priority vs. Shutter Priority
| Mode | Best For Gorilla Photography Settings | Why |
|---|---|---|
| Aperture Priority (Av/A) | Most recommended | You control depth of field; camera adjusts shutter speed. Great for static or slow-moving gorillas. |
| Shutter Priority (Tv/S) | When gorillas are very active | You control motion blur; camera adjusts aperture. Use 1/500+ for playing juveniles. |
| Manual (M) | When light is consistent | Full control; use when forest light is uniform (e.g., heavy overcast). |
No Flash Rules – What to Do Instead
| Rule | Why | Alternative |
|---|---|---|
| Flash is strictly prohibited | Gorillas’ eyes are sensitive; flash can startle them. | Use High ISO and wide aperture to compensate for low light. |
| Turn off all AF assist beams | The red light disturbs gorillas. | Use back-button focus or AF-C (continuous focus). |
Critical Rule for Gorilla Photography Settings: Maintaining a 7-meter distance from the gorillas is mandatory. This affects your focal length and framing—your lens and gorilla photography settings must account for this distance.
Recommended Gorilla Photography Settings for Common Scenarios
| Scenario | ISO | Shutter Speed | Aperture (f-stop) | Additional Tip |
| :— | :— | :— | :— |
| Stationary Silverback | 1600-3200 | 1/250 | f/4 | Focus on the eye; use single-point AF. |
| Playing Juveniles | 3200-6400 | 1/500+ | f/4 | Use continuous AF; burst mode (10+ fps). |
| Gorilla in Dappled Sunlight | 800-1600 | 1/400 | f/5.6 | Use spot metering to expose the gorilla, not the background. |
| Overcast / Rainy Conditions | 4000-6400 | 1/125 – 1/250 | f/2.8 – f/4 | Bump ISO aggressively; noise is better than blur. |
| Environmental Portrait (with habitat) | 800-1600 | 1/200 | f/8 | Step back; use a wide-angle lens to include the forest. |
How to Shoot in the Rain – Weather-Sealing Tips
Rain is common during gorilla trekking, especially in the low seasons (March-May & October-November) . Here’s how to protect your gear and adjust your gorilla photography settings.
Protecting Your Camera from Bwindi’s Rainforest
| Protection Method | How It Works | Best For |
|---|---|---|
| Rain Sleeve / Cover | Clear plastic cover over camera and lens | All cameras; cheap and effective |
| Weather-Sealed Body/Lens | In-built rubber gaskets prevent moisture ingress | Professional bodies (Sony/Canon/Nikon high-end) |
| Umbrella | Hold a small umbrella while shooting | Stationary shooting; not practical during treks |
| Dry Bags | Store camera in a dry bag between shots | Protecting gear during heavy downpours |
Adjusting Gorilla Photography Settings in Wet Conditions
| Challenge | Solution |
|---|---|
| Dim light during rain | Increase ISO to 6400-8000; accept some noise. |
| Water droplets on lens | Use a lens hood to reduce drips; keep a microfiber cloth in your pocket. |
| Fogging | Keep your camera gear at ambient temperature. Avoid sudden changes (e.g., going from air-conditioned lodge to humid forest). |
| Slippery terrain | Use a hand strap or Peak Design clip to avoid dropping your camera. |
Pro Tip for Gorilla Photography Settings in Rain: Shoot in RAW format. This gives you 2-3 stops of recovery in post-processing, allowing you to brighten underexposed images without losing quality.
Composing Your Shot – Gorilla Portraits vs. Environmental Shots
Great gorilla photography settings are useless without strong composition. Here’s how to frame your images for maximum impact.
Gorilla Portrait Photography
| Element | How to Achieve It |
|---|---|
| Focus on the Eyes | Use single-point AF; keep the eye sharp. The eye is what draws the viewer in. |
| Eye Level Perspective | Kneel or sit to get at the gorilla’s eye level—this creates intimacy. |
| Fill the Frame | Use your zoom to isolate the face; remove distracting background elements. |
| Leverage Lighting | Look for catchlights (reflections of the sky) in the gorilla’s eyes. |
Environmental Photography
| Element | How to Achieve It |
|---|---|
| Include the Habitat | Step back and use a wider focal length (24-70mm). Show the gorilla in the forest. |
| Use Leading Lines | Vines, trees, or rivers can lead the eye toward the gorilla. |
| Foreground Elements | Use out-of-focus leaves in the foreground to add depth and a “peek-a-boo” effect. |
| Group Framing | When photographing a family, include multiple gorillas to tell the story of their social structure. |
Composition Checklist for Gorilla Photography Settings
| Checklist Item | Yes/No |
|---|---|
| Are the eyes in focus? | |
| Is the horizon/background level? | |
| Am I at the gorilla’s eye level? | |
| Is my shutter speed fast enough to freeze movement? | |
| Have I included context (forest) or isolated the subject? | |
| Is my ISO as low as possible while maintaining shutter speed? | |
| Did I avoid disturbing the gorillas? |
Editing Your Photos – Bringing Out the Greens & Silvers
Post-processing is the final step in your gorilla photography settings workflow. Here’s how to enhance your images while keeping them natural.
Basic Editing Workflow
| Step | Tool | Adjustment |
|---|---|---|
| 1. Exposure | Lightroom / Photoshop | Adjust exposure up/down to reveal detail in shadows; avoid clipping highlights. |
| 2. White Balance | Slider | Bwindi’s green forest can cast a green tint. Shift towards daylight (5500K) for natural skin tones. |
| 3. Contrast | Tone Curve or Contrast Slider | Add subtle contrast to make the silverback’s hair pop. |
| 4. Color Grading | HSL Panel | Desaturate greens slightly (to avoid distracting background) and boost orange/brown tones in the gorilla’s fur. |
| 5. Sharpening | Detail Panel | Apply moderate sharpening (40-60). Focus on eyes and fur texture. |
| 6. Noise Reduction | Detail Panel | Apply Luminance NR (10-20) to reduce high-ISO noise without losing detail. |
Advanced Editing Tips for Gorilla Photography Settings
| Tip | Why It Works |
|---|---|
| Use “Dehaze” slider (Lightroom) | Removes atmospheric haze caused by forest humidity. |
| Apply Vignette | Subtle vignette draws the eye to the gorilla’s face. |
| Clone Out Distractions | Remove bright spots or man-made items (like guide jackets) from the background. |
| Export for Web | Sharpen for screen (not print) – use 72dpi, 2048px on the long edge. |
Software Recommendations
| Software | Best For | Cost |
|---|---|---|
| Adobe Lightroom Classic | Comprehensive editing & organization | $10/month (Subscription) |
| Adobe Photoshop | Advanced retouching, removing objects | Part of Creative Cloud |
| Capture One | Color-grading professionals | $299 (Buy) or $25/month |
| DXO PureRAW | Best-in-class noise reduction | $129 (Buy) |
| Canon DP/Fuji/SNX Studio | Free RAW editing for specific brands | Free |
Frequently Asked Questions (FAQ) – Gorilla Photography Settings
What is the best ISO setting for gorilla photography in Bwindi?
For gorilla photography settings in Bwindi’s low-light conditions, start with ISO 1600-3200 in good light. In heavy cloud or rain, push to ISO 4000-6400. Modern full-frame cameras handle ISO 6400 exceptionally well.
Can I use flash when photographing gorillas?
No. Flash is strictly prohibited by the Uganda Wildlife Authority. It can startle the gorillas and damage their sensitive eyes. Your gorilla photography settings must rely on high ISO and wide apertures instead.
What is the best lens for gorilla photography in Uganda?
The 70-200mm f/2.8 is the ideal all-rounder for gorilla photography settings. It provides enough reach (especially on crop-sensor cameras) while allowing plenty of light for the dark forest. A 24-70mm f/2.8 is excellent for environmental shots.
How close can I get to the gorillas?
You must maintain a 7-meter distance from the gorillas during photography. This is non-negotiable. Your lens and gorilla photography settings must account for this working distance.
Is mirrorless or DSLR better for gorilla photography?
Mirrorless cameras offer better autofocus, higher burst rates, and superior low-light performance, making them ideal for gorilla photography settings. However, a high-end DSLR is still a capable tool.
Can I shoot in JPEG, or should I shoot in RAW?
Always shoot in RAW for gorilla photography. The dynamic range in the forest (bright sun patches vs. dark shadows) requires RAW’s flexibility to recover highlights and shadows in post-processing.
What if it rains during my gorilla photography session?
Use a rain sleeve or weather-sealed camera gear. Increase your ISO to 4000-6400 to compensate for the dim light. Keep your lens hood on to reduce water droplets on your lens.
Can I bring a tripod or monopod for gorilla photography?
Tripods and monopods are generally not allowed due to the physically demanding trekking terrain. Rely on Image Stabilization (IBIS) or use a bean bag for support when stationary.
Final Thoughts – Capture the Magic with These Gorilla Photography Settings
Photographing Uganda’s mountain gorillas is a privilege and a challenge. With the right gorilla photography settings, gear, and preparation, you’ll return with images that not only document your adventure but also convey the profound connection you felt with these incredible creatures.
At Afraeka Adventures, we understand the unique demands of wildlife photography. Our guides know the forest, the gorillas, and the best lighting conditions. We’ll position you for the best shots and ensure you have the time and space to apply your gorilla photography settings effectively.
Your Bwindi experience is once-in-a-lifetime. Make every frame count.
Ready to practice your gorilla photography settings in the field? Book your 3-Day Gorilla Trekking in Bwindi with Afraeka Adventures today. Let our expert guides help you capture the shot of a lifetime.
Contact Afraeka Adventures
Email: info@afraekaadventures.com
Phone / WhatsApp: +256794144988
Website: afraekaadventures.com
Sources & Further Reading
- National Geographic – Mountain Gorilla Photography Tips – General wildlife photography advice
- Uganda Wildlife Authority – Rules and regulations for gorilla photography
- Canon Europe – Wildlife Photography Settings Guide – Technical settings for low-light shooting
- Nikon – How to Shoot Wildlife in Rainforests – Gear advice for wet conditions
- Sony Alpha Universe – Gorilla Photography in Bwindi – Full-frame mirrorless settings
- World Wildlife Fund (WWF) – Mountain Gorilla Conservation
This Gorilla Photography Settings Guide was last updated in August 2026. All technical advice is accurate as of the publication date.